WELCOME

To share the creative spark so it might one day see the light.

Monday, February 21, 2011

12 Days of Christmas

               Well I seem to be on a roll finishing projects at the moment. I finished the binding on this wall hanging, designed by Anni Downs from Hatched and Patched, this afternoon. I enjoyed it but I would have tackled it differently and if anyone is going to do it, I would recommend starting at the bottom at 12 drums a drumming. That way by the time your coming past the half way done mark, it isnt as daunting doing 5 rings, 4 calling birds etc as it is 9 dancers dancing, 10 lords a leaping etc.
              Hope you like the pictures,

Its so long its difficult to get close enough


                Now I will pack it away until December....

Tuesday, February 15, 2011

Girls Day out

            Well its finally finished, binding down and buttons sewn on. If any one remembers back on November 3rd posting I showed you it quilted plus my friends versions as well. Shelley ( blue one) finished first, then me and now we are waiting on Lisa but in all honesty she has been extremely busy with the business and moving house so I think thats a feasible excuse...Dont you
            Here are some pics.
Sorry its sideways


      It was a challenge this quilt, trying to get so many fabrics to blend nicely but I am happy with the result, nice and subtle is what I was going for and I think I reached that goal.. I love the buttons.  See how many you can pick there are 19 in total.

Tuesday, February 8, 2011

Rule Breakers


            Last week I received a book I have been eyeing off for a while, It is Rule-breaking Quilts by Kathryn Schmidt (AQS Publishing).

               Not only is this book very pleasing to look thru but the written text is wonderful to read. Kathryn is very clever with her writing and phrases..
               Well I decided to try out her method, well attempt it as she says there are no definite directions just ideas. I used 6 different fabrics cut at 4" x 21", divide lengthwise one fabric from the top moved to the bottom and then I joined the fabrics together to give me 6 strips back again. I know I am not explaining it properly but you hopefully get the idea... Then I divide the 6 strips widthways into 8 pieces, cut at different angles. Now you move the first fabric to the bottom of the first pile, second pile you move down 2 pieces to the bottom and so on. Then you sew the pieces back together to give you the 6 strips back again, join these strips in your desired pattern.                                                               Here are a few of mine on my design wall

              And here is my finished small quilt in which I am very pleased with, its been a long time coming for me to finish anything so quickly.
Finished size 15" x 19"
     
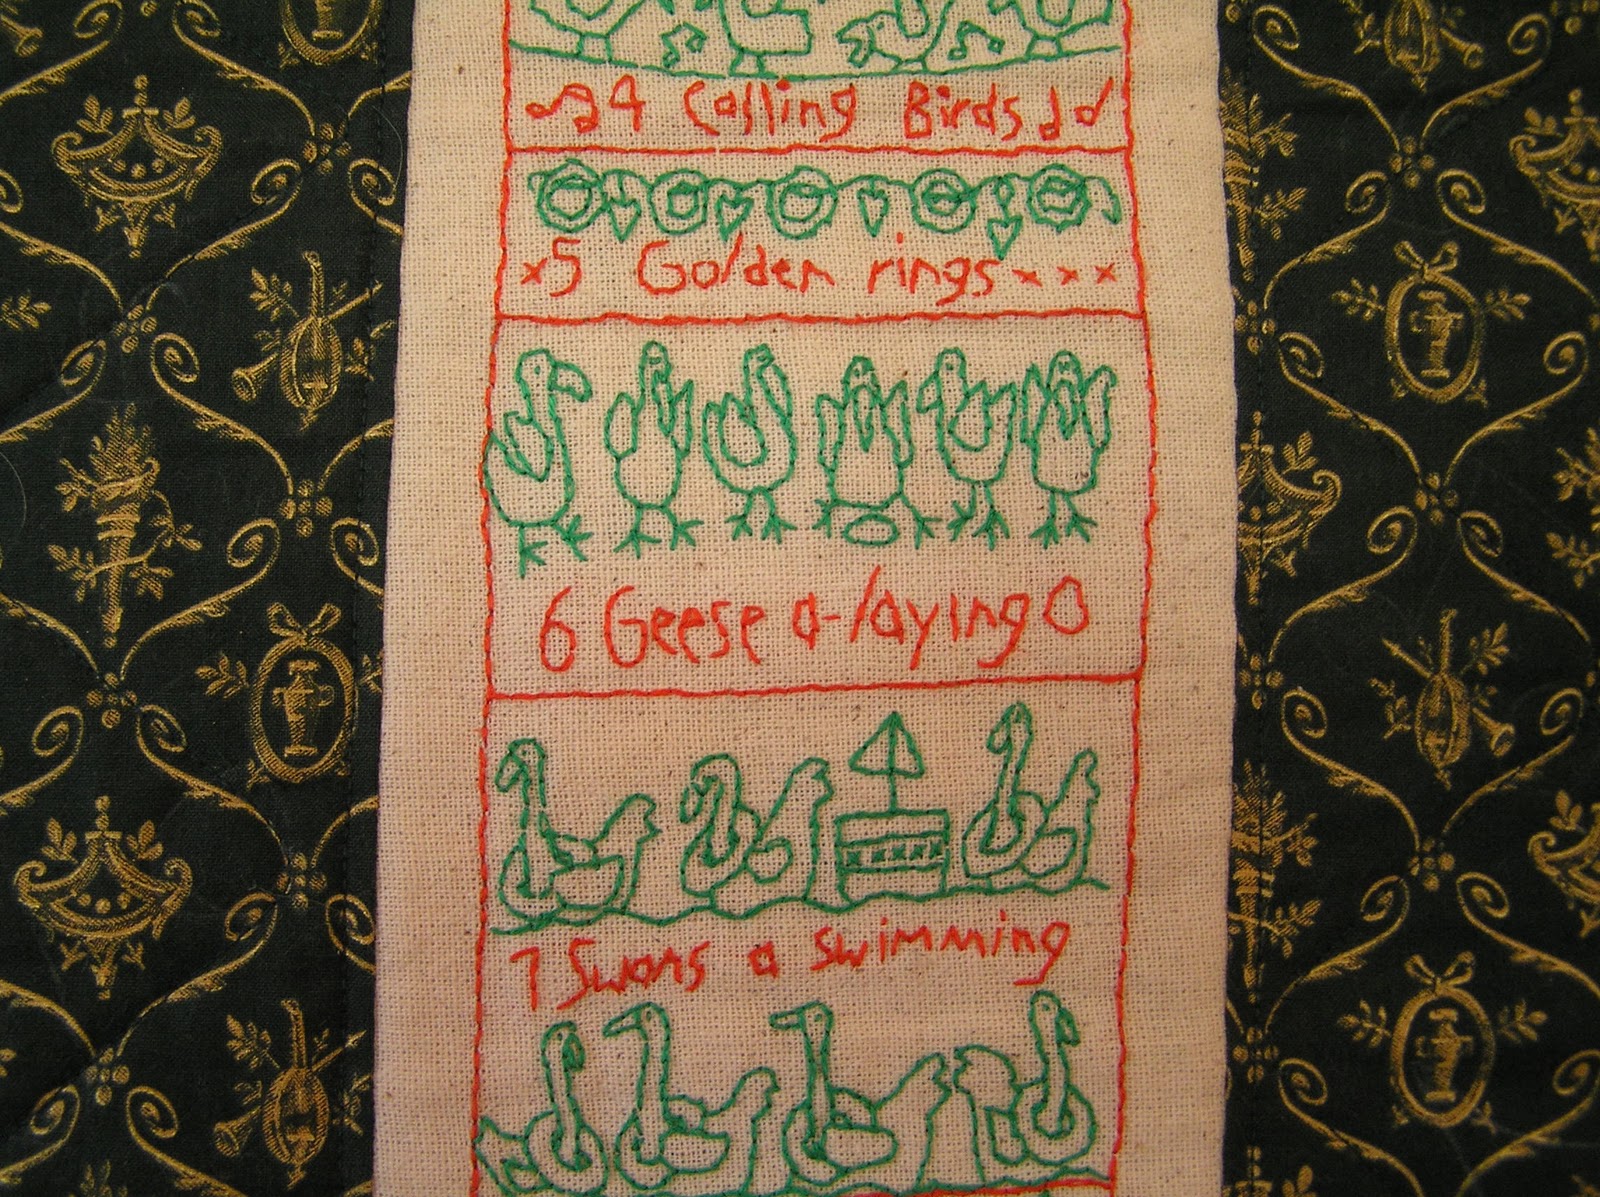
Up close to see quilting

Quilting on the back